Hour of Code - Making Computer Music
Hour of Code - Making Computer Music
Project Link in the Codecraft App ⎋
LESSON SUMMARY
DURATION: 45-60 mins
GETTING STARTED: (2-5 MINS)
- Introduce the activity
- Direct student to the activity
ACTIVITY: (20-40 MINS)
Facilitate and support students to complete the tutorial
WRAP-UP: (5-10 MINS)
Debrief and close
ASSESSMENT/EXTENDED LEARNING: (2-5 MINS)
Optional
What are we building?
We’re going to build a piano on the internet that you can really use to play songs.
You’ll learn about
- WebAudio using a library called Tone.js
- Some math behind how sounds works
- Javascript eventListeners
- Switch statements
Part 1
Learn about ToneJs, notes and sound /waves
What is Tone.js?
Tone.js ⎋ is a framework for creating interactive music in the browser built on top of the Web Audio API ⎋. This means that you can create tones and sounds using some knowledge of HTML and Javascript and some knowledge of music.
What is a tone?
A musical or vocal sound with reference to its pitch, quality, and strength. Sound travels in waves and the frequency of those waves in terms of sound is called pitch. The Oscillation of those waves over time will determine the sound we hear. Here is a video that explains it in more detail. Knowing how sound works will give you a better understanding of Tone.js and how our piano will work.
What is Sound?
In this tutorial, we’ll use something called Attack / Release. Now that you know how sound works, all you need to know about attack/ release is that attack is when the amplitude is rising and release is when it is decreasing. Okay, you’re an expert! Let’s make a piano.
Part 2 (HTML)
First, let’s start with the HTML.
Make sure you add the Tone.js package from CDN (Content download network). This allows the application to use the library without needing to add the files manually. It imports them straight from the URL provided. Neat!
We need 7 white piano keys, where 5 of them have sharps. This means we’re going to create 12 piano keys. We’ll represent these with list items and style them with CSS to look like piano keys.
Create a ul with 7 li items
<script src="<https://cdnjs.cloudflare.com/ajax/libs/tone/14.4.9/Tone.js>"></script>
<div class="title">
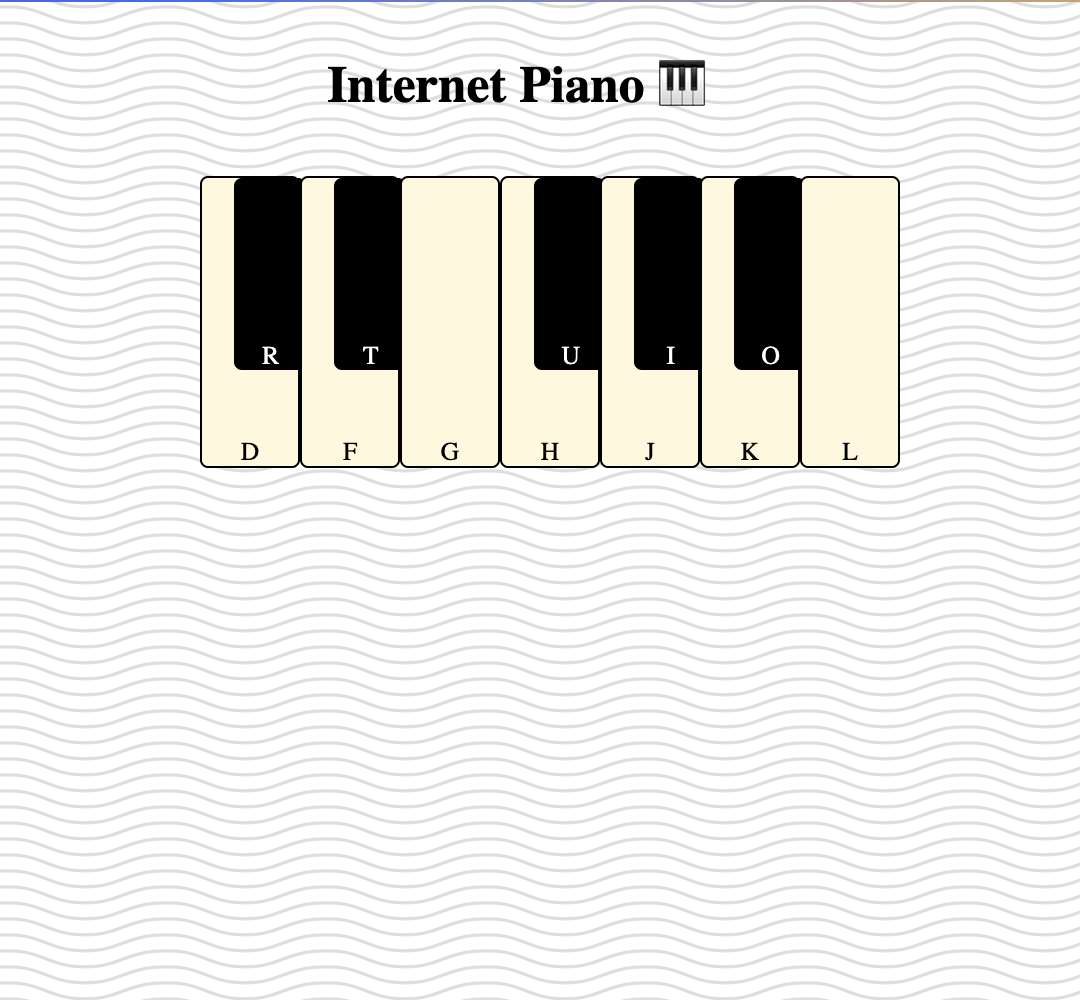
<h1 >Internet Piano 🎹</h1>
</div>
<ul id="piano">
<li data-note="C4" class="key">
<div data-note="C#4" class="black-key">R</div>
D
</li>
<li data-note="D4" class="key">
<div data-note="D#4" class="black-key">T</div>
F
</li>
<li data-note="E4" class="key">
</li>
<li data-note="F4" class="key">
<div data-note="F#4" class="black-key">U</div>
H
</li>
<li data-note="G4" class="key">
<div data-note="G#4" class="black-key">R</div>
H
</li>
<li data-note="A4" class="key">
<div data-note="A#4" class="black-key">R</div>
J
</li>
<li data-note="B4" class="key">
</li>
</ul>Part 3 (CSS)
We’ll use align-items: flex-end; to add the letters to the bottom. The .key identifier will style our white (major) keys and while the .black-key identifier will handle styling our black (sharp and flat) keys.
.title {
 display: flex;
 justify-content: center;
 align-items: center;
}
ul {
 display: flex;
 list-style: none;
 justify-content: center;
}
ul .key {
  position: relative;
  width: 60px;
  height: 180px;
  border: 1px solid black;
  cursor: pointer;
  display: flex;
  background: #fffff0;
  justify-content: center;
  align-items: flex-end;
  border-radius: 5px;
}
ul .black-key {
  position: absolute;
  width: 45px;
  left: 37.5px;
  height: 120px;
  display: flex;
  background: black;
  color: white;
  justify-content: center;
  border-radius: 5px;
  align-items: flex-end;
}
Part 4 (JS)
Now to the good stuff! We’re going to reference the Tone.js api found here:https://tonejs.github.io/ ⎋
// Create Synth
const synth = new Tone.Synth();
// Set wave type
synth.oscillator.type = "sine";
// Connect to master output
synth.toMaster();
// Attatch piano variable to html element
const piano = document.getElementById("piano");
// Event Listener for clicking "on" piano
piano.addEventListener("mousedown", e => {
  // Grabs note name from 'data-note'
 synth.triggerAttack(e.target.dataset.note);
});
// Event Listener for clicking "off" piano
piano.addEventListener("mouseup", e => {
 synth.triggerRelease();
});
We’re going to create a variable called synth and assign it to a new Tone.Synth()
This is a Tone object with a member function called Synth() .
hint - We can tell it is a function noted by the pair of parentheses.
Our synth now has the attributes of the Tone.JS Synth. We’re going to assign the oscillator type to “sine” like a sine wave.
synth.oscillator.type = "sine"
Then we output the synth to our speaker output with:
synth.toMaster()
Cool! Our synth is set up to output audio to our speakers!! Now we just need to set up our synth to play notes when we click the keys and then assign keys to keyboard buttons.
f
Set a piano variable equal to document.getElementById("piano") . This selects the DOM element piano we made in the HTML section and assigns it to our new JS variable.
Now we add event listeners for mouseup and mousedown. We will use an arrow function => to assign the variable e to synth.triggerAttack(e.target.dataset.note) . We are able to grab the note name from the data-note attribute we made earlier. This is because we are using the dataset property on the HTML which allows us to read/write data attributes in the format data-*. By using data-note we can use the note attribute to grab our note names.
We’re going to add another event listener for mouseup to handle synth.triggerRelease in the same way we handled mouseup but we don’t need to handle any note names.
// Add Keyboard Commands
document.addEventListener("keydown", e => {
  switch(e.key) {
     case "d":
      return synth.triggerAttack("C4");
    case "r":
      return synth.triggerAttack("C#4");
    case "f":
      return synth.triggerAttack("D4");
    case "t":
      return synth.triggerAttack("D#4");
    case "g":
      return synth.triggerAttack("E4");
    case "h":
      return synth.triggerAttack("F4");
    case "u":
      return synth.triggerAttack("F#4");
    case "j":
      return synth.triggerAttack("G4");
    case "i":
      return synth.triggerAttack("G#4");
    case "k":
      return synth.triggerAttack("A4");
    case "o":
      return synth.triggerAttack("A#4");
    case "l":
      return synth.triggerAttack("B4");
    default:
      return;
  }
});
document.addEventListener("keyup", e => {
  switch(e.key) {
    case "d":
    case "r":
    case "f":
    case "t":
    case "g":
    case "h":
    case "u":
    case "j":
    case "i":
    case "k":
    case "o":
    case "l":
       synth.triggerRelease();
  }
});
Almost done!!
We’re going to use switch statements to handle our keyboard keys for both pressing and releasing. We’ll add a keydown eventListener and make a switch statement for each key where we have a case for each keyboard key we want to use. In each case we return the note we want using synth.triggerAttack("<insertNote>");. Now we must handle turning the tone off when we release a keyboard key or else the done will play indefinitely and we don’t want that. We will make another eventListener with a switch statement to handle each keyboard key with a case for each key. Each case should handle synth.triggerRelease() and we can add this to the end of our switch statement as the default case.
That’s it 🥳!! You should be able to play your new Internet Piano using your keyboard! Show it off to your friends and family or try some of the challenges below to explore more music theory and the Tone.js library!
Challenges
- The piano does not allow you to play a full “octave”. You can hear this by playing every note in order. Towards the end is sounds like something is missing. Finish the piano 🎹
- Change the oscillator type to create different sounds or add more filters to the synth
- Add animation to the keys
Notes
Contact
Address
2412 Irwin Street
Melbourne, FL 32901
Email: hello@codecraftworks.com
Phone: 321-209-4674, 850-290-4714
Our Company
Copyright ©2024, CODECRAFT WORKS. All Rights Reserved