Hour of Code - Falling Tiles Game
Project Link in the Codecraft App ⎋
DURATION: 60 mins
GETTING STARTED: (2-5 MINS) Introduce the activity
ACTIVITY: (40-20 MINS) Facilitate and support students to complete the tutorial as well as the challenges
WRAP-UP: (5-10 MINS) Debrief and close
CONFIG OBJECT
type: Phaser.AUTO- This property is responsible for setting the rendering context of the game.
It can be eitherPhaser.CANVAS,Phaser.WEBGL, orPhaser.AUTO. Auto will try
to use WebGL, but if the browser or device doesn’t support it, use canvas.
- This property is responsible for setting the rendering context of the game.
width/height- Sets the width and height of the game canvas in pixels.
physics- This defines the default physics system for the game. Phaser provides
'arcade',
'impact', and'matter'. - Next, the arcade config is defined below. All that was defined here is gravity,
but you can also set fps, timeScale and more: https://photonstorm.github.io/phaser3-docs/Phaser.Types.Physics.Arcade.html#.ArcadeWorldConfig ⎋
- This defines the default physics system for the game. Phaser provides
scene- We define the keys
preload,create, andupdateand set the values to be the same
as the key name. We’ll define these as functions of the same name so the scene manager knows which ones to call. preloadis used to load assets into the game efficiently. create, is used to
draw the assets in the game world, and update is called once per game step while
the scene is running.
- We define the keys
GAME INSTANTIATION AND VARIABLE DEFINITION
var game- Creates a new instance of the phaser game object using the config variable
defined above, and assigns it to a variable named game.
- Creates a new instance of the phaser game object using the config variable
var squaretovar highScoreText- These are global variables that have been initialized in the global scope
so that all functions have access to them.
- These are global variables that have been initialized in the global scope
FUNCTION DEFINITION
function preload()- This function is not used but was added as scaffolding so that sprites can easily be added in the future.
function create()- We define the
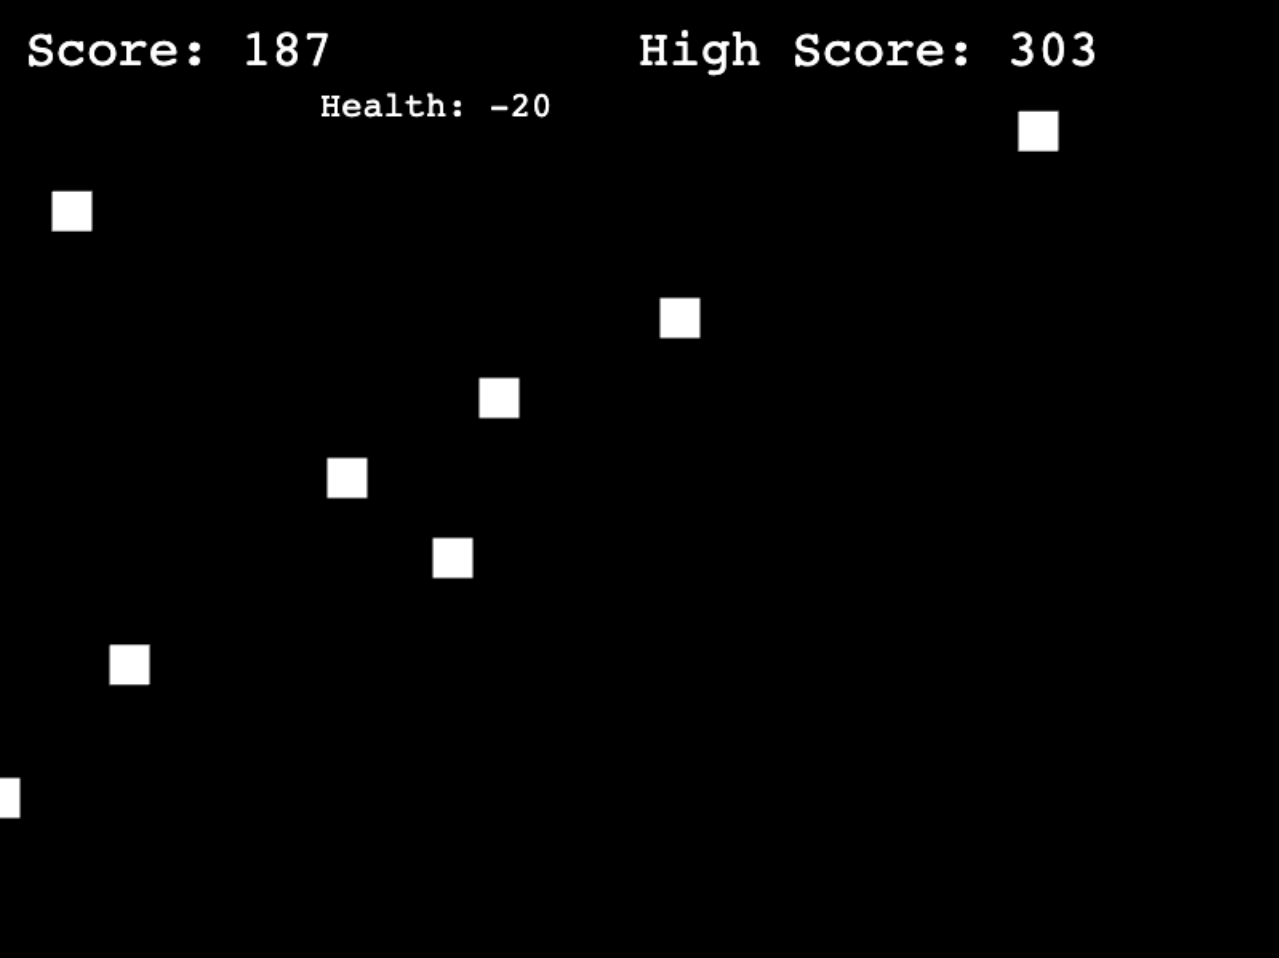
squareimmediately give it physics properties using arcade physics. allowGravityis set to false because we don’t want it to fall, but we still want it to collide with other objects.scoreTextandhighScoreTextis created to store those respective values.- We then create a loop that generates a set of rectangles and stores them in our
obstacleListarray. - Next, we iterate over the
obstacleListand for each of the elements, we add physics in the same way, and set the max velocity of the y axis to 1000. - The array is then added to a physics group set to the variable ‘obstacles’ so we can iterate over it and add the overlap behavior. This happens in the
physics.add.overlap()function. We pass our square, and the child which corresponds to the current obstacle the iterator is pointing to, and set the callback function which is the function that fires on collision, to ‘collided’ which is defined below. - The collided function which is really the callback function for overlap is
passed two parameters by default. The one we want is the obstacle that hit the player. After a small if statement to update the high score, we access obstacle to add some camera shake to the scene. var timelineis assigned thetweens.timelinefunction which is passed
an object containing the targets for the tween, duration, and the tweens.
The timeline is necessary because we want to tween, which is to create in-between
frames, between two colors, and back again. Without the timeline, we would
only be able to tween in one direction.
- We define the
function update()-
NOTE: Everything here happens once per game step.
-
The first thing that happens in this function is we use
Phaser.Math.Betweento generate a random number between 0, and 800). These values represent the far left and far right of the screen because the width is 800. This gets assigned to the variablevalue. -
Next, we increment score by 1, and then update scoreText using the setText function which we’ll pass the score variable.
-
mouseVelocityis defined as the absolute value of the activePointer or cursors velocity in the x direction. We want the absolute value because we don’t want negative values for this. -
mouseXis defined as the value of the activePointers x coordinates just to make things cleaner so we don’t have to typethis.input.activePointer.x
every time we want the x coordinate of the mouse. -
We then check if the
mouseVelocityis greater than 10 and if it is, a tween is triggered to scale the player object in the y axis in a way that corresponds to how quickly the mouse is moving. This is done by simply setting the scale to a value divided by themouseVelocity. -
Finally, we want to move the tiles to the top of the screen when they fall beyond the bottom of the screen, so we write a small if statement checking the value of the y position. If its greater than 600(or the height of the canvas), we set the y to -50 just above the canvas so the same 8 tiles fall forever. Right after we set the y position, we also randomize the x using the value we defined at the start of our
update()function.
-
CHALLENGE
Use this game as a template to tell a story by replacing the square as well as the obstacles with sprites of your own. It’s through these sprites that you can tell a compelling story. For example: replacing the player square with a dinosaur sprite, and the obstacles with meteors. Get creative and come up with something way outside the box!
-
Import sprites of your own using the preload function. To figure out how to load images as sprites into the game, take a look here: https://phaser.io/tutorials/making-your-first-phaser-3-game/part2 ⎋
-
In the create function you’ll need to change what square is defined as, or create a variable of your own to set as the sprite. You can find all of the info you need on adding sprites to your scene here: https://phaser.io/tutorials/making-your-first-phaser-3-game/part3 ⎋ You may also find it useful to take a look at the sprite examples: https://phaser.io/examples/v3/category/game-objects/sprites ⎋
-
In the update function, you may need to make changes if you updated variable names or if something broke along the way.
Contact
Address
2412 Irwin Street
Melbourne, FL 32901
Email: hello@codecraftworks.com
Phone: 321-209-4674, 850-290-4714
Our Company
Copyright ©2024, CODECRAFT WORKS. All Rights Reserved